

How to Save Dahlias for Another Year: A Step-by-Step Guide
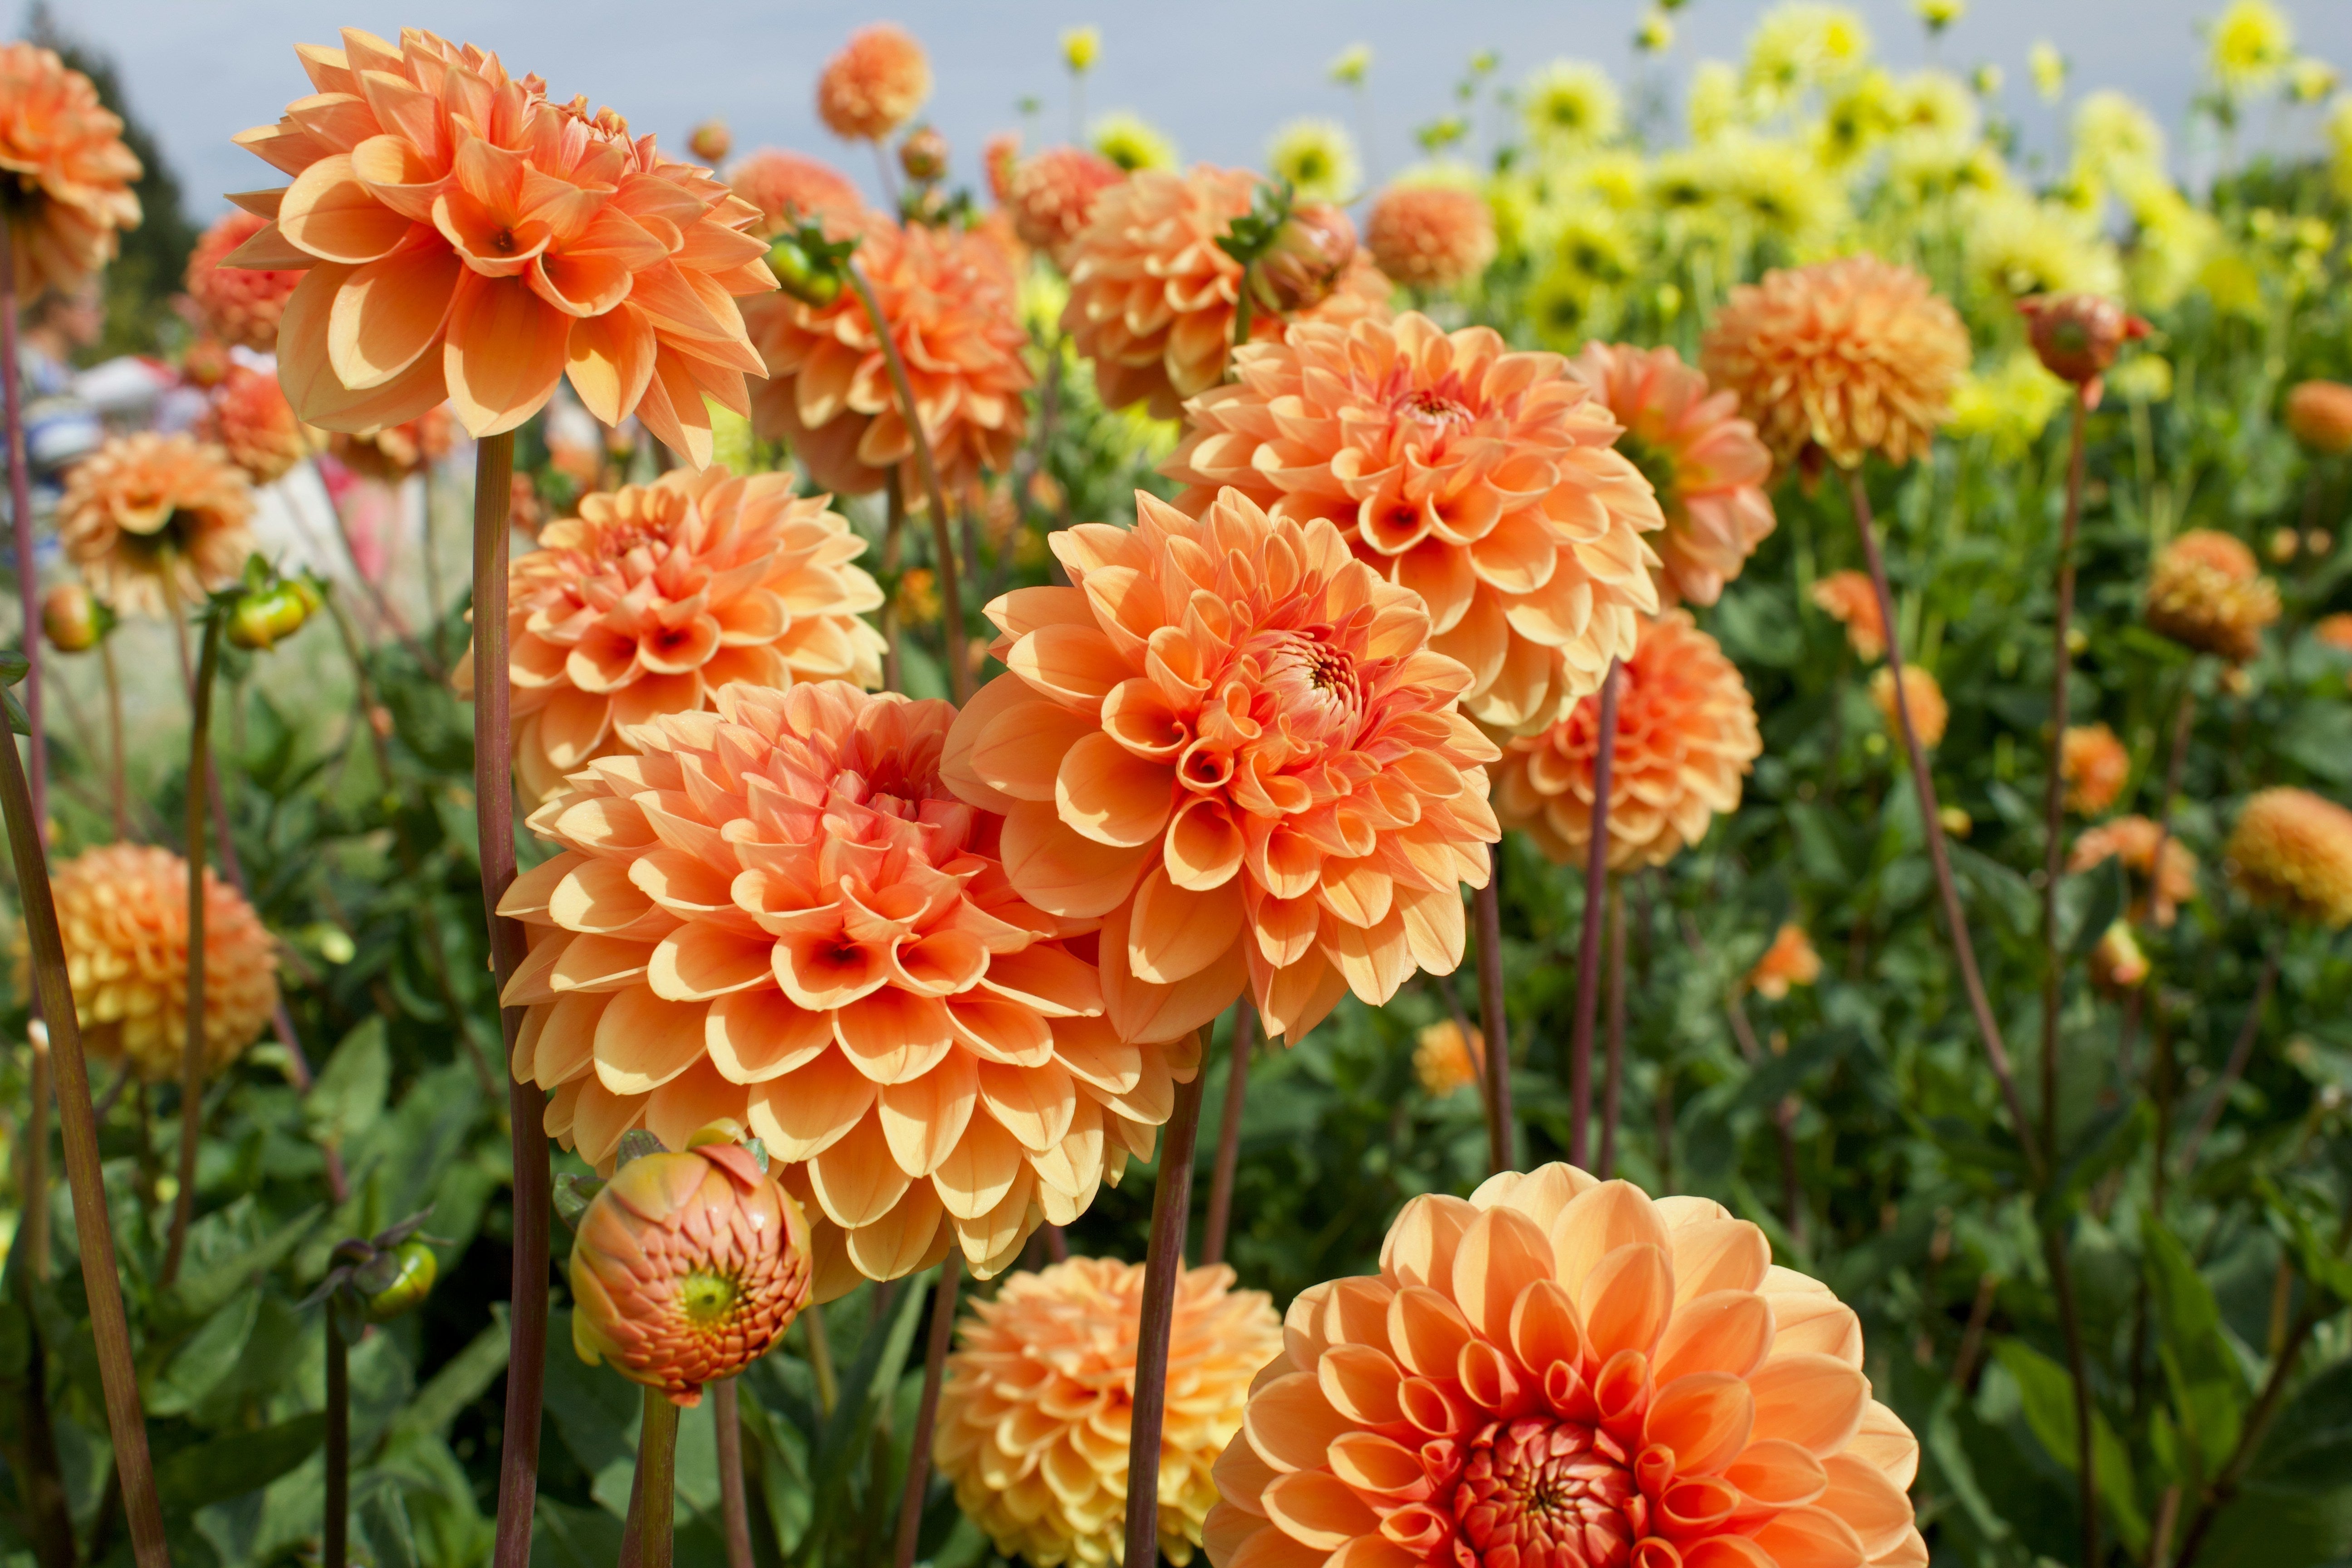
Dahlias are one of the most beloved flowers in any garden, offering an array of vibrant colors, elegant shapes, and bountiful blooms. They grace our gardens with beauty all season long, but as the cooler months approach, gardeners often wonder what to do to ensure these flowers return year after year. With a little care and attention, you can save your dahlias and enjoy their stunning blossoms again next season. In this post, we’ll walk you through the process of saving your dahlia tubers so that you can continue to enjoy their beauty for years to come.
Why Saving Dahlias Is Worth the Effort
Before diving into the specifics, it’s important to understand why saving dahlia tubers is so beneficial. Dahlias can be a bit of an investment, as they are often purchased as tubers or small plants each season. By saving your tubers, you’re not only ensuring that you’ll have a ready supply of these stunning flowers for the following year, but you’re also saving money by not needing to purchase new plants. With a bit of planning, dahlias are incredibly easy to store and replant, making them an essential part of any flower gardener’s routine.
Step 1: Digging Up the Dahlia Tubers
The first step in saving your dahlias for the next season is to carefully dig up the tubers once the growing season has ended. This typically occurs after the first frost, when the plants begin to die back.
Timing is Key
Wait until the frost has touched the foliage, causing the plant to wilt and die back. This ensures the plant’s energy has been directed into the tubers, which is crucial for their survival and future growth. Once the plant is no longer growing, it’s time to get to work.
How to Dig Up Dahlias
1. Cut back the foliage: Start by cutting back the dahlia plant to about 6 inches above the ground. This makes it easier to access the tubers without damaging them.
2. Loosen the soil: Using a garden fork or shovel, gently loosen the soil around the tuber clump. Be careful not to pierce or damage the tubers in the process.
3. Lift the tubers: Once the soil is loosened, gently lift the tuber clump from the ground. Shake off the excess soil and inspect the tubers for any signs of disease or damage.
4. Separate the tubers: After lifting, you’ll likely have a cluster of tubers connected by a central crown. Carefully separate these tubers, ensuring that each piece has a portion of the root system attached.
Step 2: Cleaning and Preparing the Tubers
After you’ve dug up and separated your tubers, it’s time to clean them. Proper cleaning ensures that the tubers are free of soil, debris, and potential pathogens that could lead to rot during storage.
1. Remove excess dirt: Gently wash the tubers with water to remove any dirt clinging to them. Avoid using a hose with too much pressure as this can damage the delicate tuber skin.
2. Inspect for damage: Carefully inspect the tubers for any soft spots, cuts, or signs of rot. Trim away any damaged parts using a sharp pair of garden scissors or pruning shears. Healthy tubers should feel firm to the touch.
3. Dry the tubers: After cleaning, place the tubers in a cool, dry place to dry completely for 1-2 days. This step is crucial as it helps prevent mold and rot from developing during storage.
Step 3: Storing Dahlias for the Winter
Once your dahlias are cleaned and dried, it’s time to store them for the winter. Proper storage conditions are critical to keeping the tubers healthy until you’re ready to replant them in the spring.
Once your dahlias are cleaned and dried, it’s time to store them for the winter. Proper storage conditions are critical to keeping the tubers healthy until you’re ready to replant them in the spring.
Best Storage Conditions
Dahlias thrive when stored in a cool, dark, and dry environment. The ideal temperature for storing dahlia tubers is between 40°F and 50°F (4°C to 10°C). Too warm, and the tubers may start to sprout early; too cold, and they could freeze and die.
1. Packaging the tubers: Place each tuber or clump of tubers in a well-ventilated container. Some gardeners prefer using wooden crates, cardboard boxes, or mesh bags. You can also wrap the tubers in newspaper or dry peat moss to help maintain the right moisture levels.
2. Store in a cool, dry place: Find a location that remains cool and dry throughout the winter. A basement, garage, or root cellar works well as long as the temperature remains steady. Avoid storing them in areas with fluctuating temperatures or high humidity, such as in attics or near a furnace.
3. Check periodically: Throughout the winter, check your stored tubers once or twice to ensure that no rot has developed and that they are still firm. If you notice any tubers that feel soft or have mold, remove them immediately to prevent the spread to other tubers.
Conclusion: Bringing Your Dahlias Back to Life
Saving dahlia tubers is a rewarding and simple process that ensures your flowers return year after year, offering you the same stunning blooms that brighten your garden. By following the proper steps to dig up, clean, and store your dahlias, you’ll have healthy tubers ready for replanting in the spring.
As the gardening season comes to a close, the anticipation of next year’s bloom is always in the back of our minds. By preserving your dahlias, you’re not just saving a plant – you’re nurturing a future full of vibrant colors and beautiful flowers. Take the time to care for your dahlias during the colder months, and they’ll reward you with breathtaking blooms when the warmth of spring returns. Happy gardening!
For more tips on growing and caring for your flowers, be sure to check out other articles on the Blessed Blooms Flower Farm blog!
Share:
Cultivating Beauty: Our Top Cut Flowers to Grow from Seed for Stunning Bouquets
Crafting Your Dream Wedding with DIY Floral Arrangements